This KB outlines the steps to initialize and use a second disk in a Windows 2012 Server.
- Login to the server with Remote Desktop.
- Go to Start > Administrative Tools > Computer Management.
- Click on Disk Management.
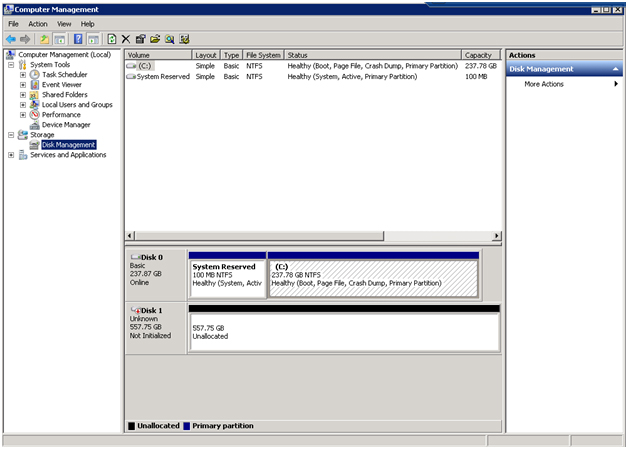
You can see that there a 2 disks installed in the system. Disk 0 is the primary OS drive. Disk 1 is the additional drive. If you have a raid setup, this drive will be a combination of all the drives set up in a RAID array. This is normal to not see individual drives.
Any uninitialized disks will be listed in the disk view as offline and with a red down arrow on the disk drive icon in both the list and graphical views. The disk space will be indicated as unallocated in the graphical view. Typically, if the disk management tool detects an uninitialized disk it will automatically display a dialog box providing the option to initialize the disk before proceeding. If you didn’t get the popup then right click and select initialize.
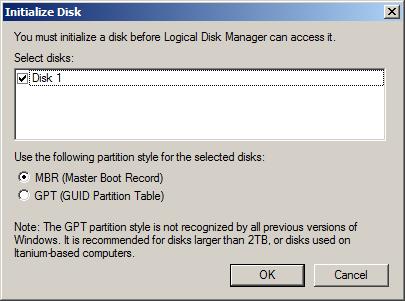
Select the desired partition style and click on the OK button to begin the process. Choose either MBR or GPT and click OK. GPT allows you to create more than 4 partitions on the HDD and 2.2TB+ sized partitions as well.
Now right click the unallocated space and click create a New Simple Volume shown below:
Follow the on screen wizard by clicking Next
-Volume Label. This can be a descriptor like “backup”, etc.
– File System (Usually NTFS)
– Allocation Size (usually the largest unless you want several partitions).
Click OK.
Once finished, you will be able to see and use the drive in Windows Explorer.