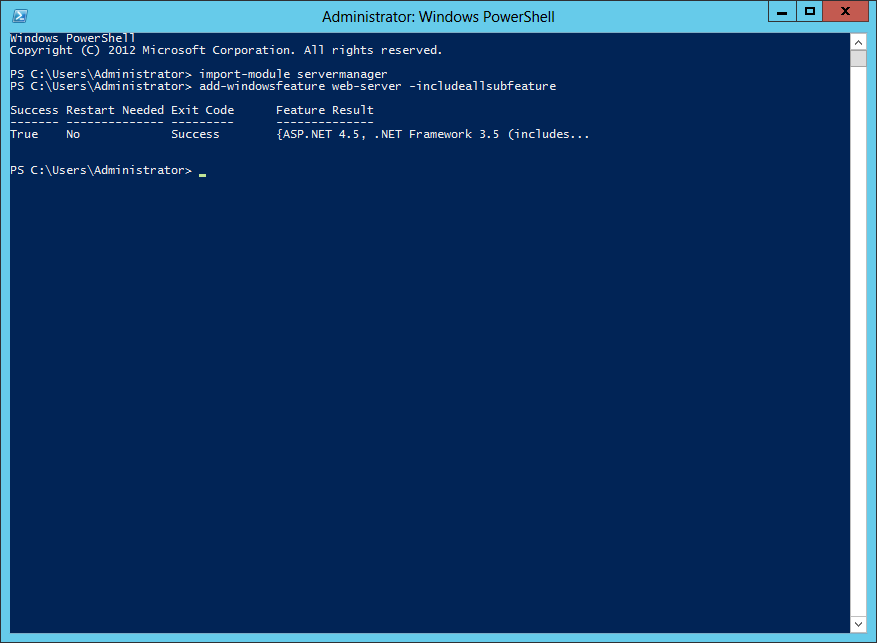
To install the role using PowerShell, use these steps. PowerShell must be run using Administrator rights. Installing IIS and all subfeatures can be run in 2 commands:
Import-module servermanager

Add-windowsfeature web-server –includeallsubfeature
To install the role using Server Manager, follow these steps:
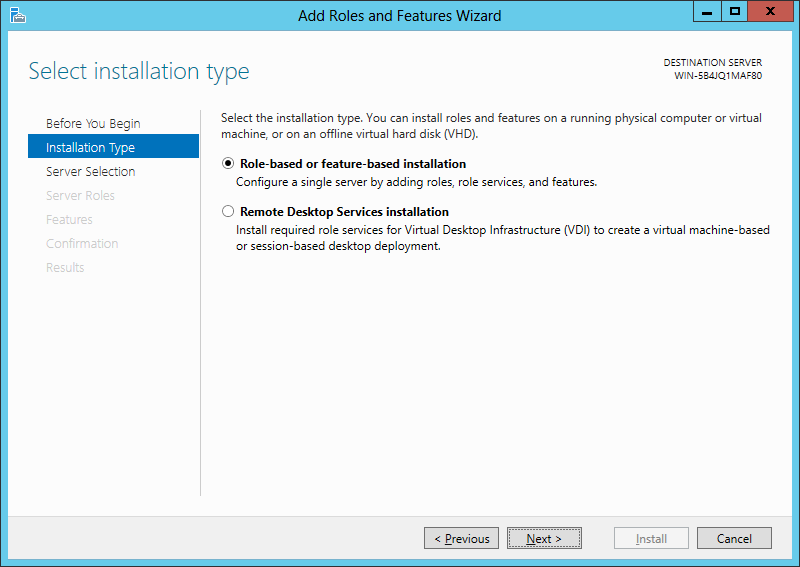
Open Server Manager, go to Configure this local server->Add roles and features

In the Add Roles and Features Wizard, select Role-based or feature-based installation
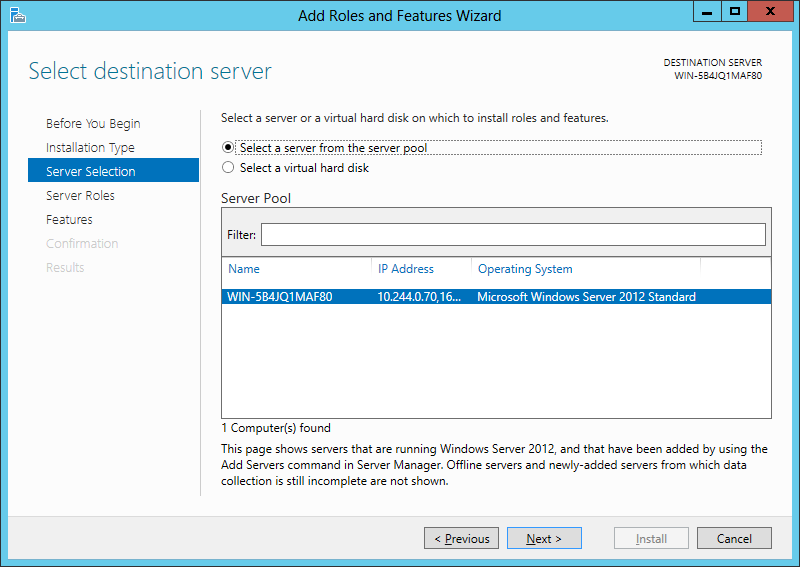
Select the local server listed in the Select a server from the server pool
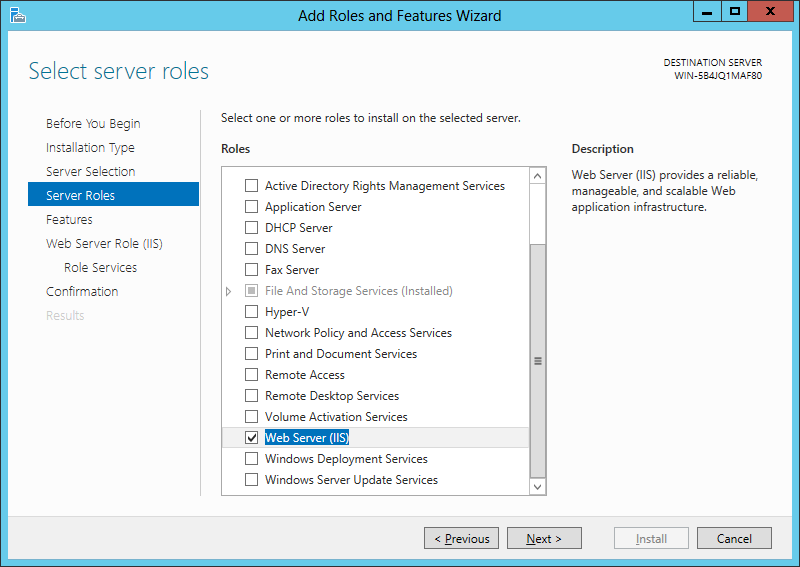
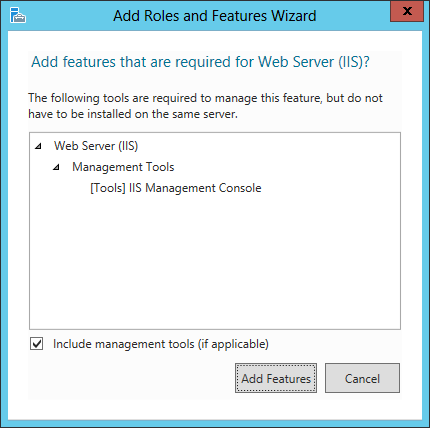
Select Web Server (IIS) and the associated roles in the popup
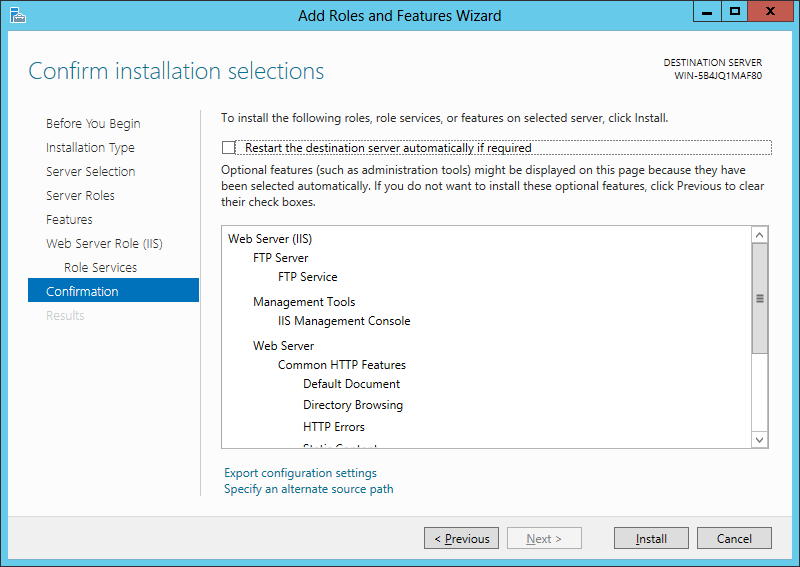
Select ‘Next’ to the Role Services selection for the IIS Role and check the FTP server and Service boxes

On the confirmation page verify that the necessary services are included and click ‘Install’
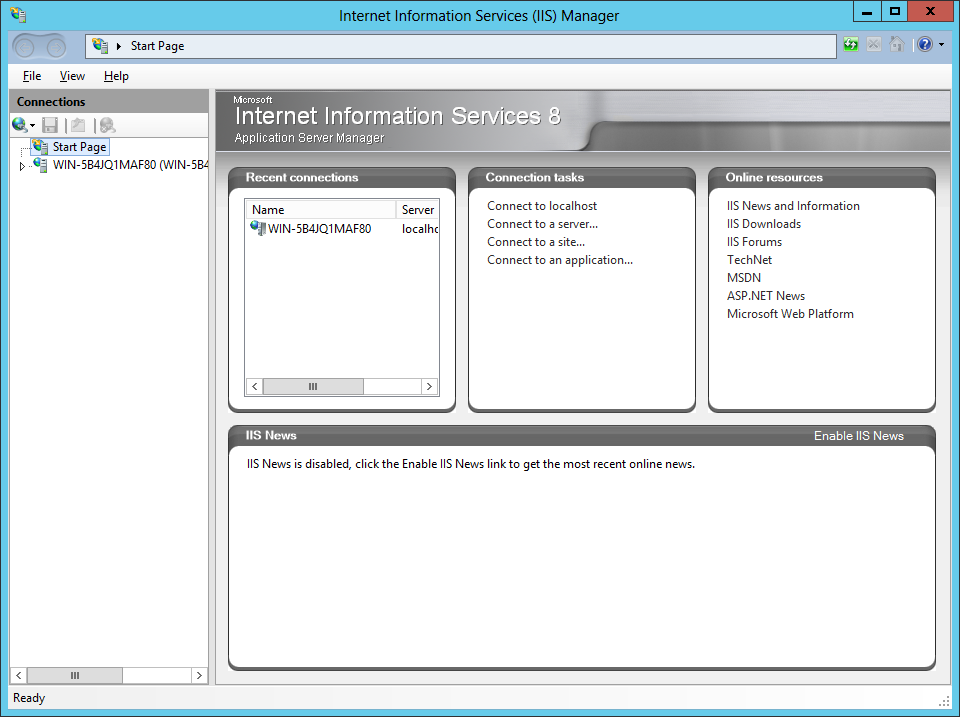
Now that the role is installed, open IIS management from the Administrative Tools
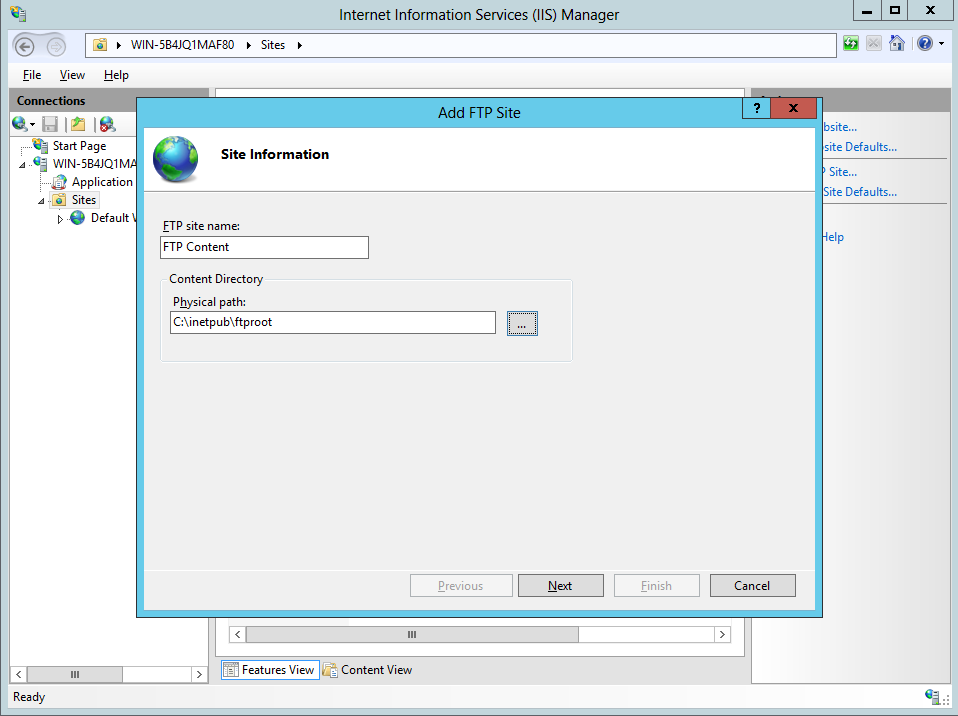
Expand the tree to Sites, right click the Sites directory, and click ‘Add FTP Site’ to create a site with an FTP instance name and physical directory
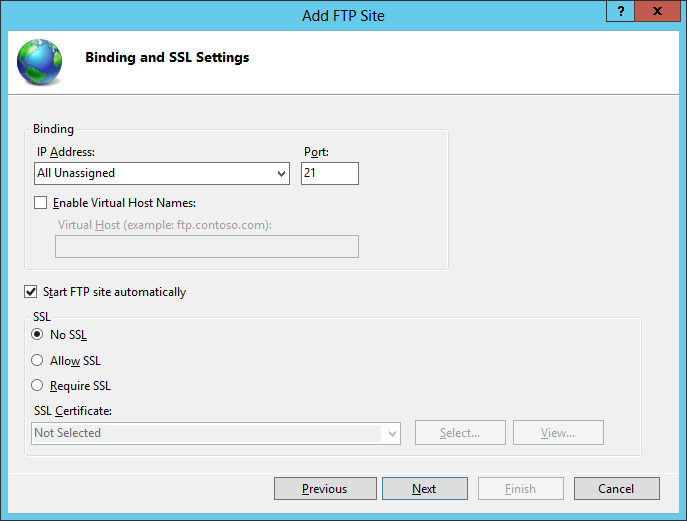
Configure Binding and SSL. In our case, we’d like to bind to all unassigned IP addresses and do not use SSL
Enable Basic Authentication and configure authorization. In our case, we start with allowing All users both Read and Write permission as long as all users on the server are password protected

Click Finish to complete the site creation