When Adding a new iscsi target and a SAN storage device, You get the following error:
Offline (The disk is offline because of policy set by an administrator).
Linux, Windows, Software Tips, Articles and Hacks
When Adding a new iscsi target and a SAN storage device, You get the following error:
Offline (The disk is offline because of policy set by an administrator).
Microsoft Windows
Below are some articles and video that I found to be useful to set up Windows for Active Directoiry, ADFS, ADCS and AWS.
Domain Controller/Active Directory
Setting up and Enabling Federation to AWS Using Windows Active Directory, ADFS, and SAML 2.0. This KB assumes that you have a windows server with IIS, Active Directory, Active Directory Federation Services and Certificate Services Installed.
First, perform the following in your domain:
This article involves Installing Enterprise CA for Active Directory Federation Services.
Installing certificate services
This article is about how to Install and Configure Active Directory Federation Services Windows 2016.
Now that we have Active Directory Install, we need to install ADFS so that we can login to the AWS console.
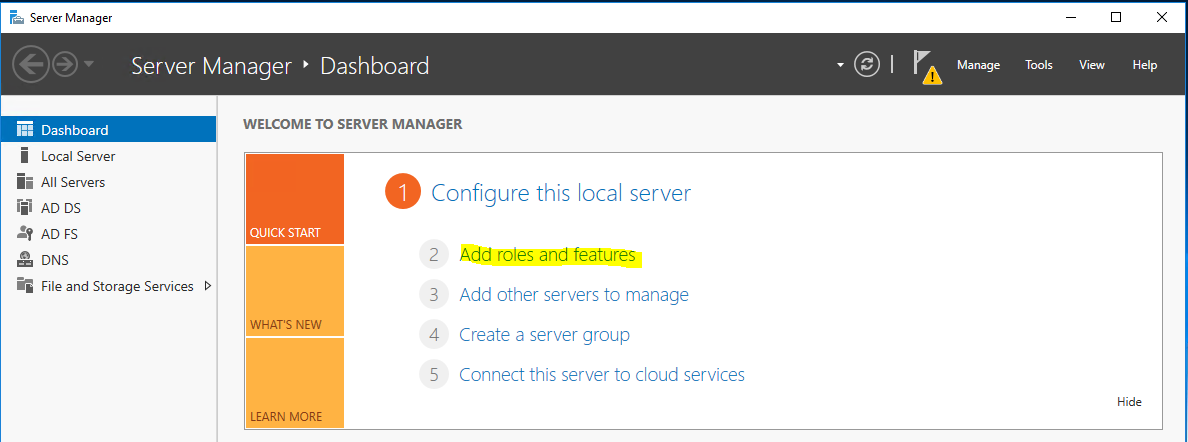
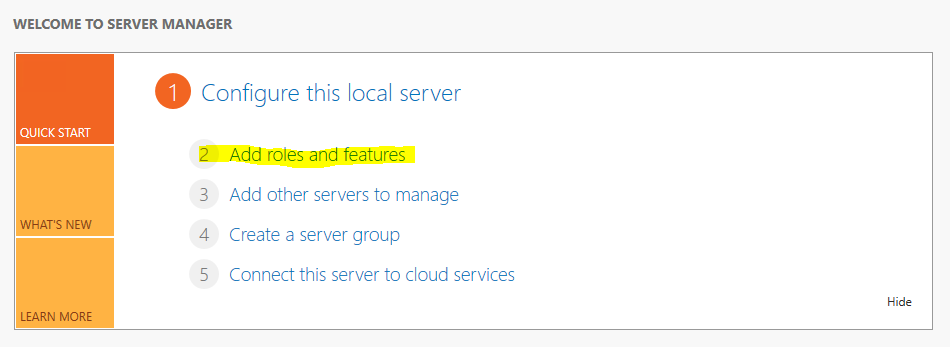
Go to server manager and add roles and features.
This post will walk you through the setup of Active Directory Federation Services (ADFS) on Windows Server 2016 and configuring it to be your credentials for AWS.
Spin up a VM with Windows Server 2016.
After the install, Configure Networking.

In order to do private networking, ideally you would use Hyper-V virtual switches to bind an interface in each of the guest VM’s to the same logical switch. You can do so with any locally routed convention.
You can configure each VM to make use of an IP in the 192.168.0.x range such as:
VM1 192.168.0.10
VM2 192.168.0.11
VM3 192.168.0.12
If you leave 192.168.0.1 open it can be set as the gateway on the virtual switch for outbound traffic that would use Network Address Translation to a public IP bound to the primary network interface.
You can also use other private network allocations such as a 10. range of your choice with VM’s using 10.0.0.1, 10.0.0.2, etc. They would all be able to see and ping each other provided they are connected to the same Hyper-V virtual switch.
The specific steps tend to change with small updates over time but Microsoft has details on the setup available from documentation at:
https://social.technet.microsoft.com/wiki/contents/articles/3140.create-networks-with-vmm-2012.aspx and https://docs.microsoft.com/en-us/virtualization/hyper-v-on-windows/quick-start/connect-to-network which is a general “Quick Start” for insight into the process.
If a single VM needs public access and local access it will need two interfaces. One will be bridged to the primary (public) interface on the physical host and the second can use the same local IP range as the other VM’s when connected to a local vSwitch.
When conned to a Window server you get the following error:
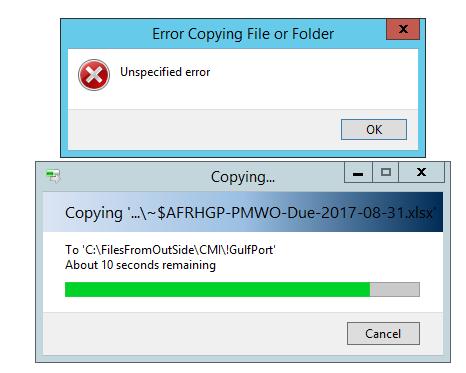
Open the task manager and end the RDP Clipboard Monitor task. Then right click on start > run > rpdclip.exe. I was able to find a way that you can script this to make it easier on you moving forward. Please see the link below to see how to make the bat file.
https://techtalk.gfi.com/copy-paste-working-remote-desktop-connection-whats-wrong/
If you install Remote Desktop Services on the server, but you do not have any CAL Licenses on the service, you will receive an error for remote connection.
The Remote Desktop Service is for hosting your own RDP Service for groups of server typically, using AD.
To resolve, close any RDP sessions on your computer, then hit Windows Key + R to open a run prompt and input this; mstsc /admin
Then try to connect as per usual. That should ignore the RDS licensing service and let you connect. Once you connect, go into Server Manager and remove the Remote Desktop Services or purchase and install CAL Licenses for the service from Microsoft.
You will need to add the Remote Desktop role first.
https://support.microsoft.com/en-us/help/2833839/guidelines-for-installing-the-remote-desktop-session-host-role-service-on-a-computer-running-windows-server-2012-without-the-remote-desktop-connection-broker-role-service
After doing so you can continue installing the CAL license following these steps.
1. Click on Start->Administrative Tools->Remote Desktop Services->Remote Desktop Licensing Manager
2. Click on “All Servers” and right click on the server you want to add the RDS CALs to and click on “Properties.”
3. For connection method, select “Automatic Connection” and select your country.
4. Insert the required information and click “OK.”
5. Right click on the server again and go to “Activate Server.”
6. Click through the menu until it asks for the license type. Select “Open License” and click okay.
7. Input Authorization and License number and the amount of CALs you purchased.
8. This will activate your RDS CALs and you are done!